other great stuff

Showing posts with label Spray lacquer. Show all posts

Thursday, February 16, 2012

DIY Mercury Glass Lamps?


I was inspired by these Pottery Barn (very expensive!) lamps and THIS DIY tutorial called Why Buy What You Can Make?

The premise is simple: take cheap and/or second hand glass lamps, spray them with water, then coat with Krylon Looking Glass Spray Paint. Finally, give them a light sand. Paint will easily flake/sand away from areas covered with water droplets, leaving you with Mercury Glass replica.

I decided to give it a go.

First of all, glass lamps are hard to find.

Second of all, I wasn't exactly sure what they meant? Did the glass have to be clear or was it just a matter of being made of glass?

I did my best at my local second-hand shop and found one metallic lamp and one made of a white glass. $12 spent, total.


I covered the cords and the tops with bags, held in place with painter's tape.


I took them outside (very warm winter day!) and I sprayed them with water and then spray paint.
Krylon Spray Paints are usually sold at Walmart. Our Walmart didn't have Looking Glass Spray paint, so I opted instead to get a can of silver metallic paint and a can of nickel metallic paint.

You can see that the coat is quite thick and opaque. Not at all the reflective look I was hoping for. This is pre-sanding, of course.


Once I started to sand, I noticed two things:

1. The White Glass Lamp was not going to work. With white bits showing through, it just looked like a bad, peeling paint job. That lamp will be kept and used again, in another room!


2. The gold metallic lamp was going to work. Though I wasn't getting the Mercury Glass look I had hoped for, I ended up with a tarnished/antiqued silver look that I love. Perfect for our bedroom which, in the end, will combine lots of weathered wood, silver and white.


I topped it off with a new burlap shade ($12.99).

Now all I have to do is find an un-matching, matching lamp that I can spray for the other night stand!
Have a great weekend!

Thursday, January 26, 2012

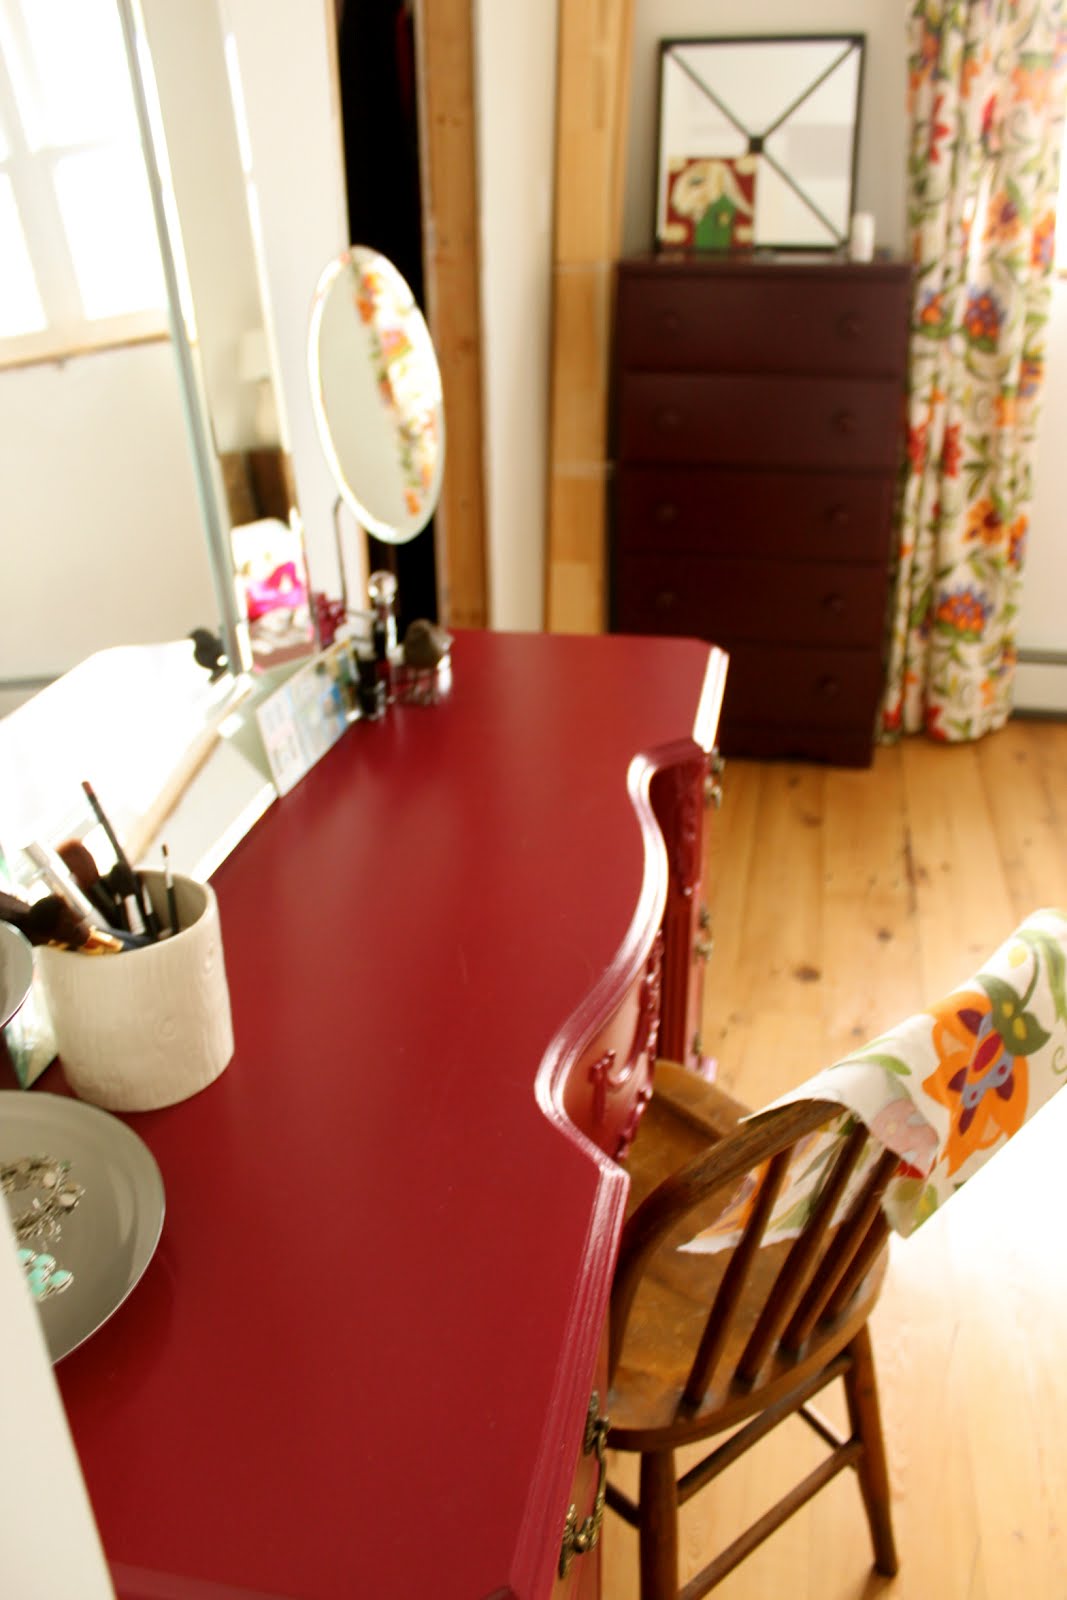
The Make-Up Table.


From "forgotten in neighbour's garage" to Fabulous!

Before.


Half-way.


Wah-la!


We really love the color of this piece but I can't quite figure out if I love the color of it in our space......Which means it may get painted again.

Which, Jamie says, is breaking his heart.

But hey! Sometimes, when you take chances, mistakes happen. And then those mistakes need to be fixed.......by Jamie.

Hope your week is a colorful one!

Thursday, December 22, 2011

Holidays.....


The Painted Pear is, technically, on holiday. We're taking a few weeks away from life and the computer (for the most part) and projects.....unless you count the odd snowman as a project, in which case, we are working away!

So we're on holiday, yes, but we're at my parents new home on PEI.
And it's beautiful.
And we're so excited.
And we just couldn't resist one little post.

My parents began building this house in the summer. For anyone who has ever built a home, you know that the laundry list of decisions can be overwhelming, to say the least.

While I was home for visit in August, my sister and I decided we would try to take the pressure off my mum and help her make as many decisions as possible. We stayed up late and made a HUGE shopping list. Room by room. Item by Item.

And then we shopped. 'Til we dropped.
We spent the entire following day going from store to store.

We chose every light fixture, tile, paint color, cupboard and vanity.
It was insane.

The one thing that proved the biggest challenge was bathroom vanities. We couldn't find what we wanted.

We looked and looked (as much as you can look in one day) and then we gave up on finding the unique pieces we were envisioning.....and we decided to make them instead.

We found this cupboard on sale at Wicker Emporium.


We picked out the most beautiful sea blue.
And then turned the vanity (cream originally) into this:


My favorite piece in the house.

That's it! There are so many beautiful things in this house but holiday starts NOW!
See you in 2012!

Merry Christmas,
Jamie and Jill

Thursday, December 15, 2011

The Secretary Desk.

"A secretary desk is made of a base of wide drawers topped by a desk with a hinged desktop surface, which is in turn topped by a bookcase usually closed with a pair of doors, often made of glass. The whole is usually a single, tall and heavy piece of furniture, not meant to be disassembled after manufacture, no matter what problems might be incurred in moving it from place to place.

The main work surface is a hinged piece of wood which lifts up to a vertical position and is tilted to an angle of about 45 degrees or so towards the bulk of the desk in order to enclose secondary work surfaces such as small shelves, small drawers and nooks stacked in front of the user."


I thought this was a secretary desk when I bought it but there's, obviously, no bookshelf?
So, I did some research.......and found out it's actually a slant top
desk.

The Lesson?
A Slant Top Desk = A Secretary Desk - The Massive Bookshelf on Top

I stand corrected....

Either way, it was a mess.
Here it is: Painted New and Improved!


Thursday, December 8, 2011

Student Trash Made Good.


This baby was ready for the dump. Found at the side of the road, this was 100% a student special.

The legs were sawed off, probably to help it fit through a door.
There were water stains and and broken drawers.
Terrible finish.

But, it had great shape. It was the perfect size. And it was free.
Jamie threw it in the back of the truck and brought it home.

6 new stainless steel legs, some TLC from James, and a coat of paint later......not too bad.


*Note....the legs are adjustable! The desk regularly sits at proper desk height but we lowered it nearly to the ground for the kids at our cookie decorating party last weekend. Check it out here.